A Guide to Paint Correction
When preparing a guide to paint correction, we used many sources and relied on our own knowledge as well. In the world of automotive care, paint correction stands out as a transformative process that can revive the luster of a vehicle’s exterior. This meticulous procedure is more than just a simple polish; it is an art that demands precision, expertise, and an understanding of the intricate details between paint types, tools, and techniques. This article will explain what paint correction is, the process involved, its purpose, limitations, and the essential maintenance that follows.
What is Paint Correction?
Paint correction is a detailed process used to eliminate surface imperfections on a vehicle’s paintwork, such as swirl marks, scratches, oxidation, etching, and holograms. Unlike a basic polish that only addresses the surface level, paint correction aims to remove a microscopic layer of clear coat or paint to level out these imperfections, thereby restoring the paint’s original brilliance and depth.
The Purpose of Paint Correction
The primary goal of paint correction is to restore the vehicle’s paint to its original or better condition. This not only enhances the aesthetic appeal but can also contribute to preserving the vehicle’s value. A well-maintained paint finish protects the underlying layers from environmental damage and prolongs the lifespan of the vehicle’s exterior.
The Paint Correction Process
Using our information as a guide to paint correction, can be helpful. The process of paint correction involves several meticulous steps, each tailored to the condition of the vehicle’s paint and the desired outcome:
- Assessment: The first step is a thorough assessment of the vehicle’s paintwork to identify the type and extent of imperfections. This evaluation helps in choosing the appropriate level of correction needed.
- Washing and Decontamination: Before any correction begins, the vehicle undergoes a comprehensive wash and decontamination to remove any dirt, grime, and contaminants that could interfere with the correction process.
- Claying: A clay bar is used to remove any bonded surface contaminants not eliminated during the wash, ensuring a smooth paint surface.
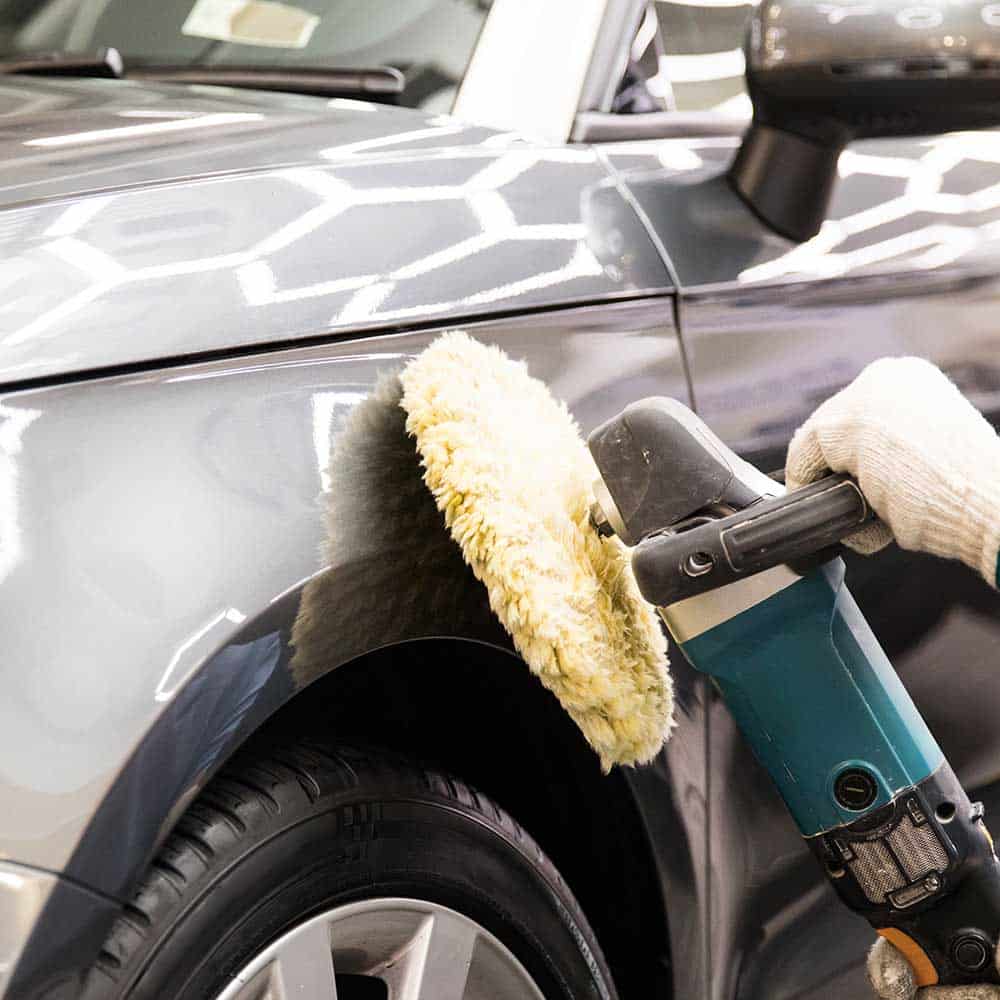
- Polishing: This is where the actual correction happens. Using a combination of dual-action polishers, varying grades of polishes or compounds, and pads, technicians meticulously work on the imperfections. The process can range from a single stage (light polish) to multiple stages for deeper imperfections.
- Inspection: After polishing, the vehicle is inspected under different lighting conditions to ensure all blemishes are corrected and the desired level of finish is achieved.
- Protection: The final step involves applying a protective layer, such as a ceramic coating, to safeguard the newly corrected paint and enhance its shine.
Limitations of Paint Correction
While paint correction can produce remarkable results, it is not a cure-all. Issues deeply embedded within the clear coat, such as severe scratches, rust that originates from beneath the paint, and paint chipping caused by impact, are typically beyond the scope of paint correction. Remember this is only a guide to paint correction. Additionally, repeated paint corrections can thin the clear coat, leading to potential long-term damage.
Automotive clear coats are typically 1.5 to 2 mils thick. Safe practices suggest that only a small fraction of this thickness should be removed to avoid compromising the integrity and durability of the paint. Vehicle manufacturers recommend removing no more than about 0.2 to 0.5 mils (5 to 12.5 micrometers) of the clear coat during the correction process. This ensures that there is enough clear coat remaining to protect the paint and maintain the vehicle’s appearance.
Excessive removal can lead to a range of problems, including reduced protection against UV rays, increased susceptibility to scratches and environmental damage, and even clear coat failure.
Maintenance After Paint Correction
Maintaining the finish after paint correction is crucial to preserving its condition. Here are some tips:
- Regular Washing: Use a gentle, pH-neutral car shampoo and a soft wash mitt along with a high-quality microfiber drying towel to avoid introducing new swirls or scratches.
- Protection: For longer-lasting protection, consider a professionally applied ceramic coating.
- Avoid Automatic Car Washes: The brushes and cloths used in automatic car washes can cause swirl marks and scratches, undoing the work of paint correction.
- Sheltered Parking: Whenever possible, park your vehicle in a garage or under a carport to protect it from environmental elements.
Paint Protection Film: An Alternative
Paint protection film (PPF) presents a compelling alternative to paint correction for those seeking to restore the shine and gloss of their paint. Unlike paint correction, which removes microscopic layers of clear coat, PPF can be applied to mask superficial imperfections and preserve the existing paint. This innovative solution provides long-term protection, maintaining the vehicle’s aesthetic appeal and resale value without altering its original paintwork. In addition, it eliminates the need for future paint correction sessions.
Conclusion
When reviewing a guide to paint correction, it’s important to know the steps and that results vary by vehicle. Paint correction is a valuable process for anyone looking to rejuvenate their vehicle’s appearance or maintain its value. By understanding what it entails, its limitations, and the care required afterward, vehicle owners can make informed decisions about this service. With the right approach and maintenance, the results of paint correction can be both stunning and enduring, ensuring your vehicle looks its best for years to


